How to Create a New Agent
This guide outlines the step-by-step process for creating a new work agent in the AI Studio. You can choose to start with a pre-configured template to accelerate development or begin from scratch for full customization.
Overview
When creating an agent, you define the logical structure that your assistant or automation will follow. The process involves:
- Choosing a Strategy: Start from scratch or use a template.
- Selecting the Model (if opting for a template).
- Defining Identity: Name and description of the agent.
Prerequisites
- EDITOR level access permission or higher in the project.
- A clear idea of the automation's purpose (e.g., data extraction, simple chatbot, validation agent).
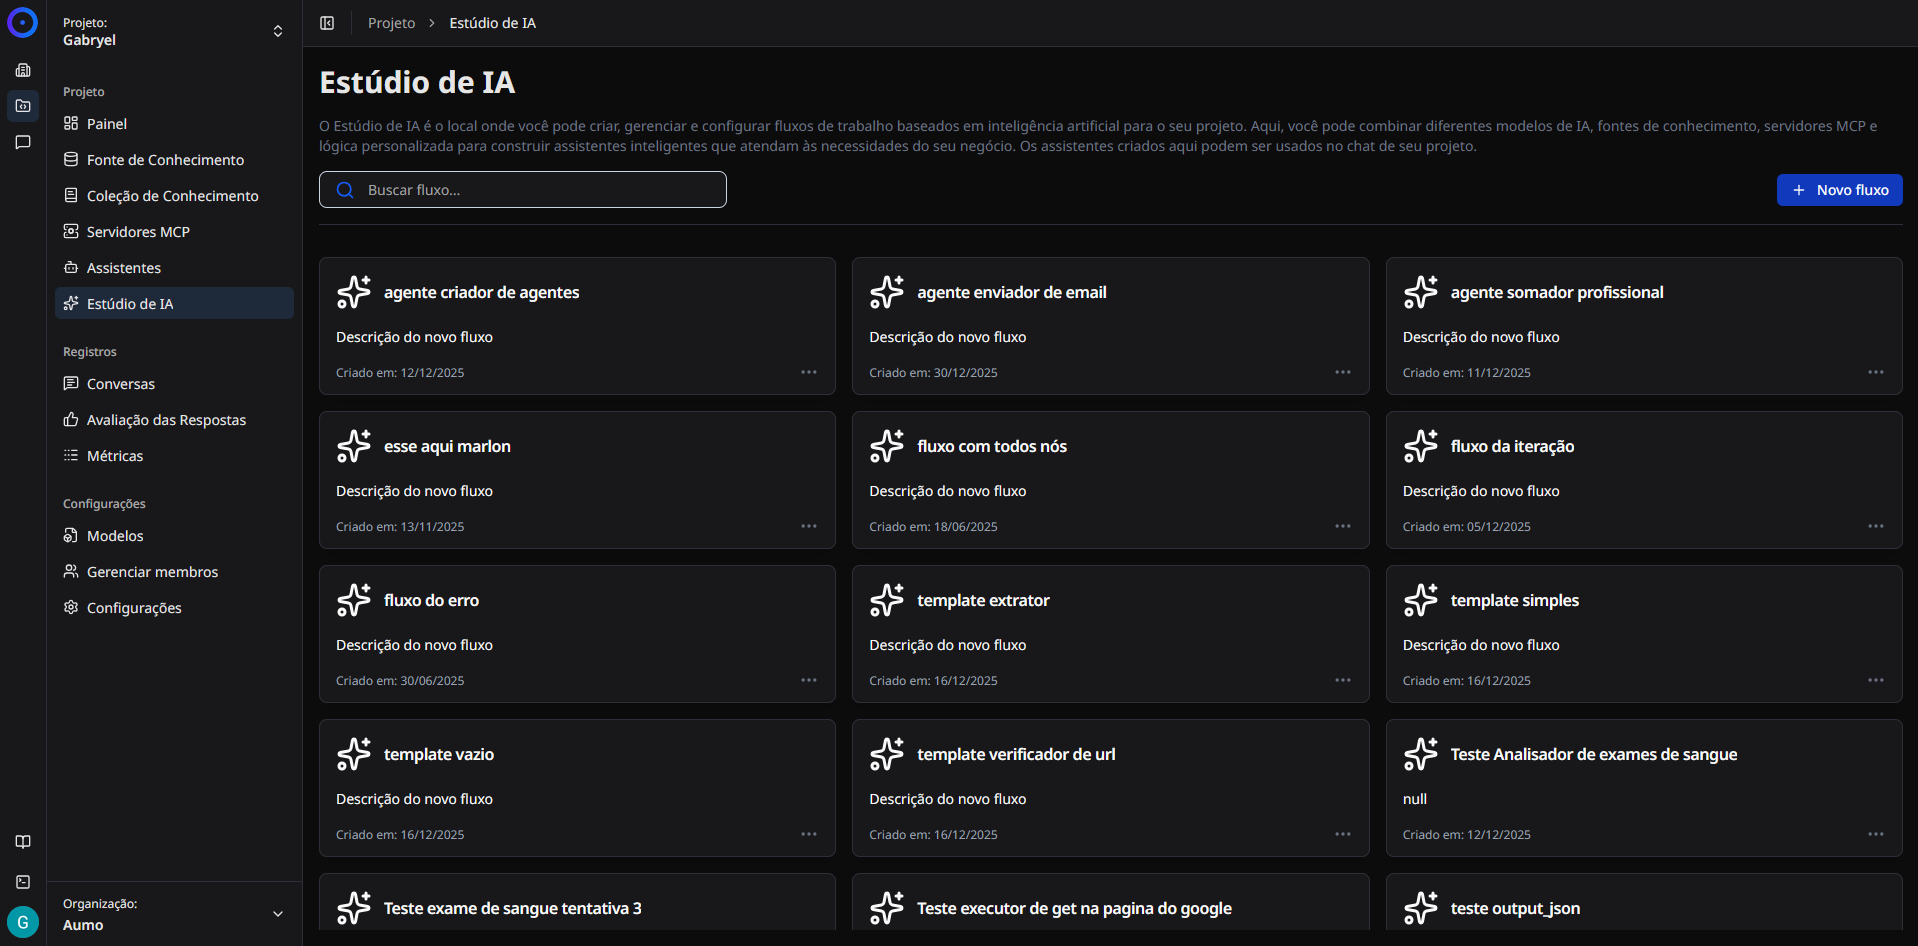
Step 1: Access Creation
- Navigate to the Projects section in the side menu.
- Select the desired project.
- Click on AI Studio in the side menu of the project.
- Click the blue + New Agent button in the top right corner.
Step 2: Choose Creation Strategy
Upon clicking the new agent button, a window will open offering two distinct paths:

Option A: Create without Template
Select this option if you are an advanced user and want full control over the workflow structure and logic from the first node.
- Ideal for: Unique solutions, complex and customized logic.
Option B: Workflow with Template
Select this option to use pre-configured and tested models.
- Ideal for: Common cases, time savings, and users seeking initial efficiency and reliability.
Step 3 (Option A): Creating without Template
If you chose Create without Template:
- A configuration window will be displayed.
- Read the informational note about advanced mode.
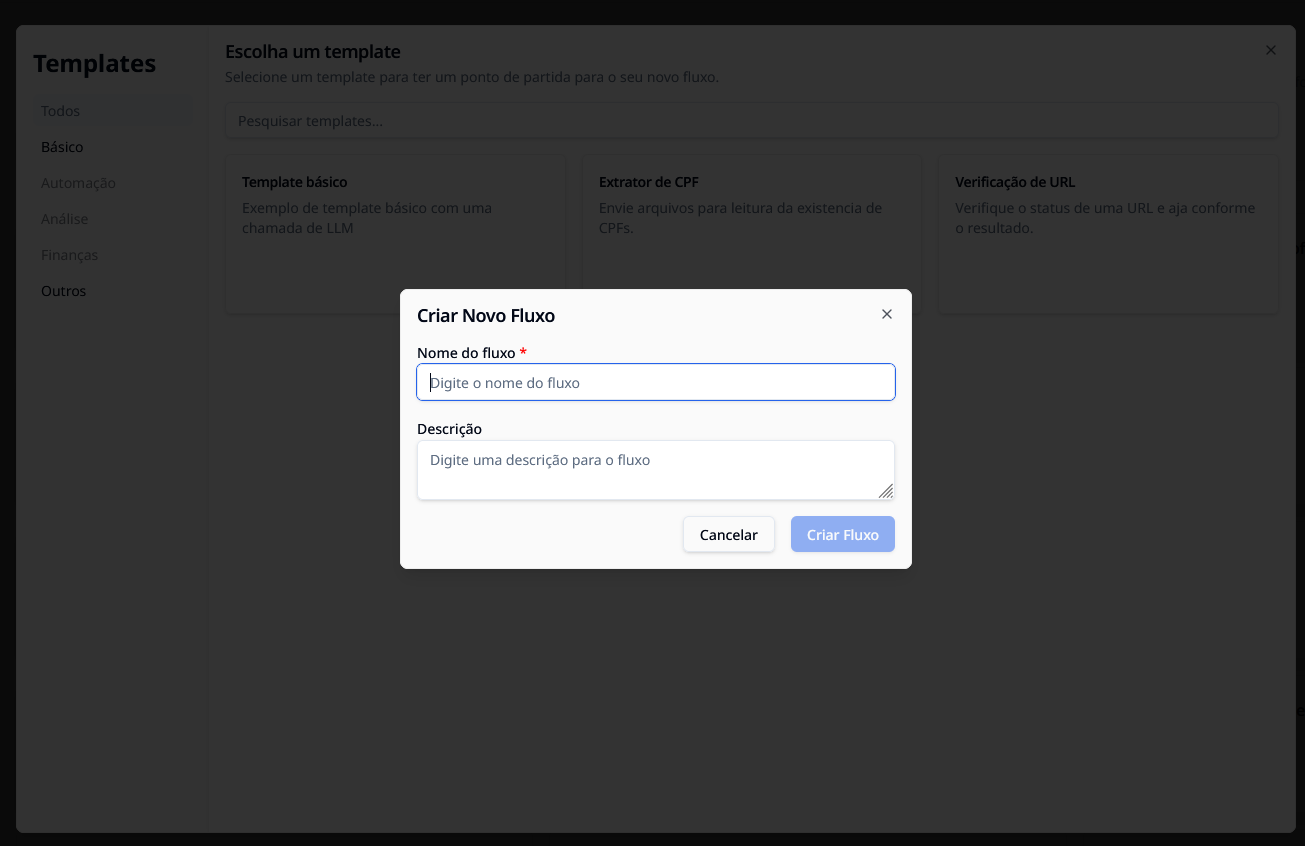
- Fill in the required fields:
- Agent Name: A unique name to identify your workflow.
- Description: Briefly explain what this agent does (useful for future organization).
- Click on Create Agent.
Note: Choosing this option will direct you to the editor with only the start and end nodes, or a completely blank canvas, depending on the default settings.

Step 3 (Option B): Creating with Template
If you chose Workflow with Template:
- You will be directed to the template gallery.
- Use the left side menu to filter by categories (Basic, Automation, Analysis, Finance, etc.).
- Or use the search bar at the top ("Search templates...") to find something specific.
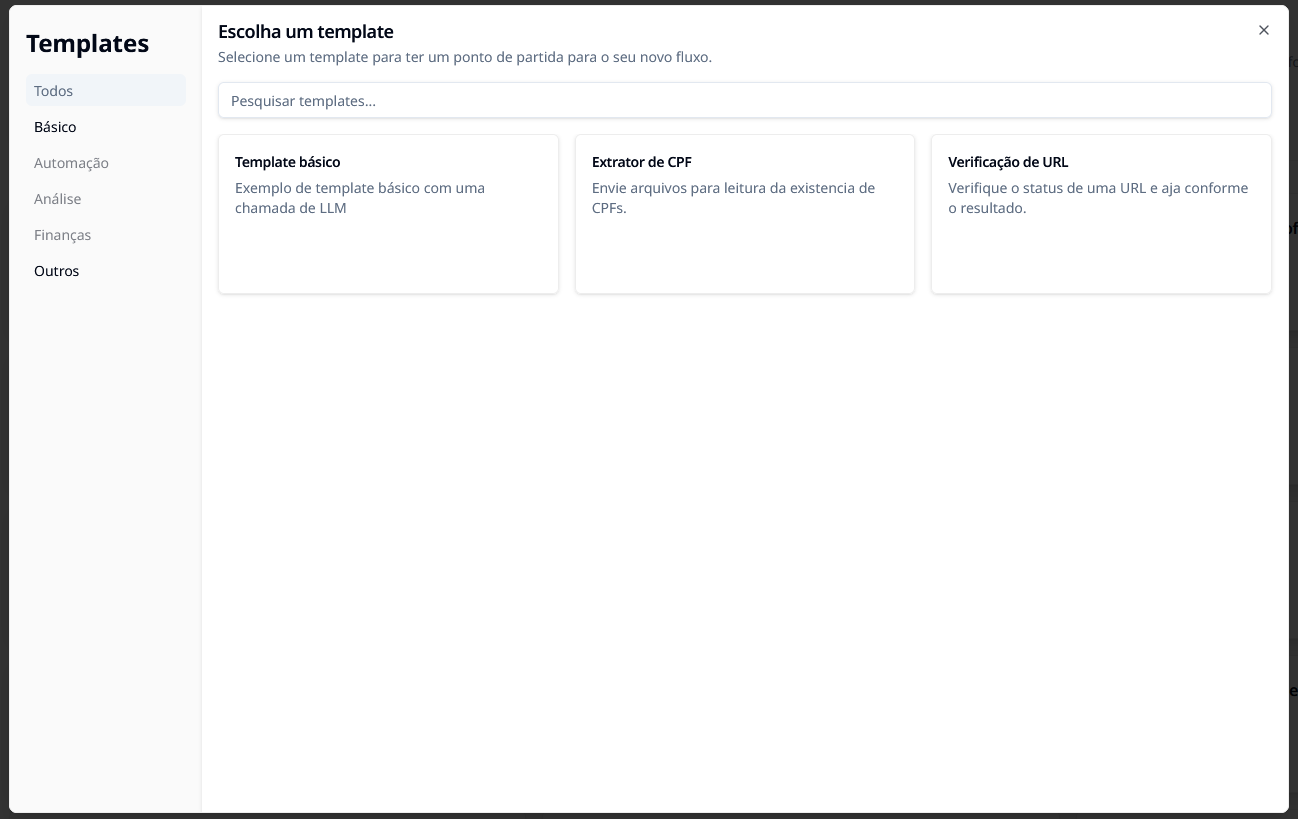
- Click on the card of the desired template (e.g., "Basic Template," "CPF Extractor," "URL Checker").
- A confirmation window will appear asking for the details of the new agent.
- The name and description will be pre-filled based on the template, but you can (and should) edit them to fit your project.
- Click on Create Agent.
Step 4: Conclusion
After clicking "Create Agent" in either option, the system will process the request, and you will be immediately redirected to the Editing Area (Canvas) of the AI Studio.
Your new agent will also appear in the general list on the home screen of the Studio.
Next Steps
- Getting to Know the Visual Editor: Learn how to navigate the editing canvas.
- Node Library: Understand the function of each type of node available.