Visual Editor
The Visual Editor is the workspace where the magic happens. It offers an "infinite canvas" interface based on nodes, allowing you to visually and intuitively draw, connect, and configure the logic of your flow.
Overview
When creating or opening a flow, you are presented with this interface. Here you can:
- Drag and Drop: Add new processing nodes.
- Connect: Create links between nodes to define the execution order and data passing.
- Configure: Adjust the individual parameters of each step in the process.
- Test: Run the flow in real-time to validate functionality.
Interface Components
The editor interface is divided into five main control areas:
1. Top Bar (Actions and Navigation)
Located at the top of the screen, this bar contains the global controls for the flow:
- Breadcrumbs (Navigation): On the left corner (e.g.,
Project > AI Studio > empty template), allows you to quickly return to previous screens. - Run (Play): The button on the right corner starts executing the flow for immediate testing.
- API Usage Example (Cloud): Next to the run button, this button shows code examples (cURL, Python, JS) for consuming the agent via API.
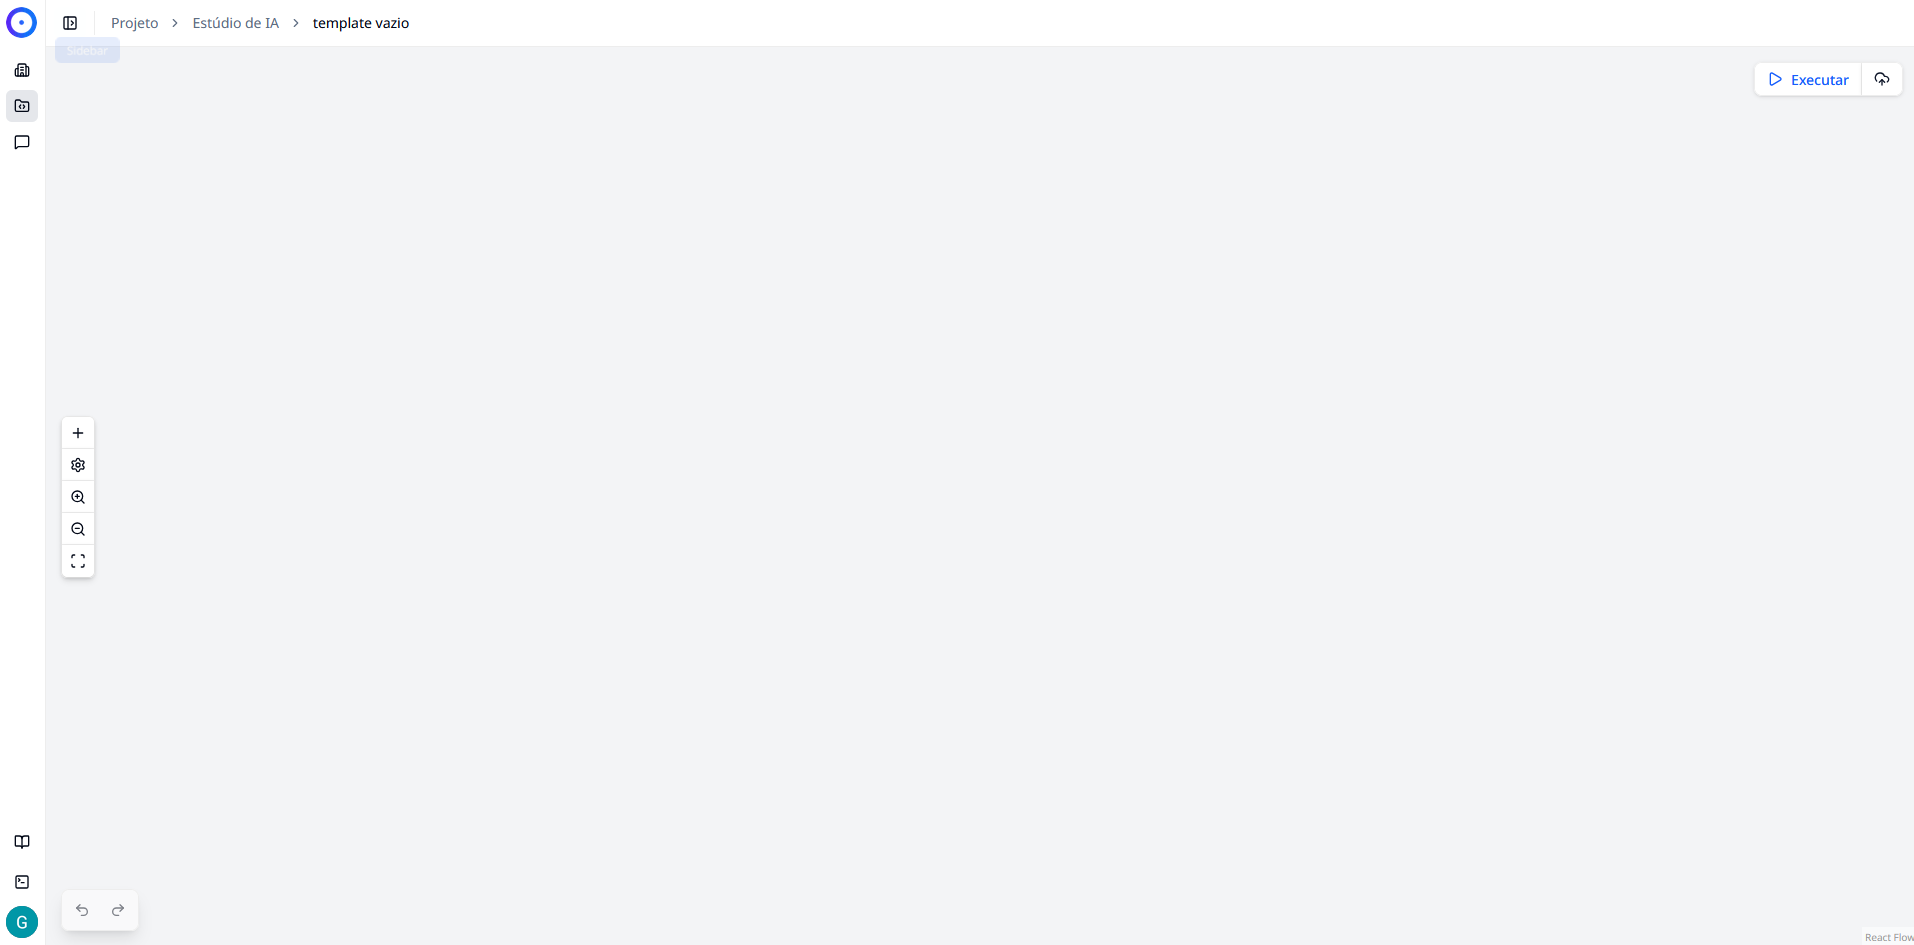
2. Canvas Area
The large blank space with a dotted grid is your workspace.
- You can click and drag in an empty area to move the view.
- Use the mouse wheel (scroll) to zoom in or out.
- This is where the nodes will be positioned and connected.
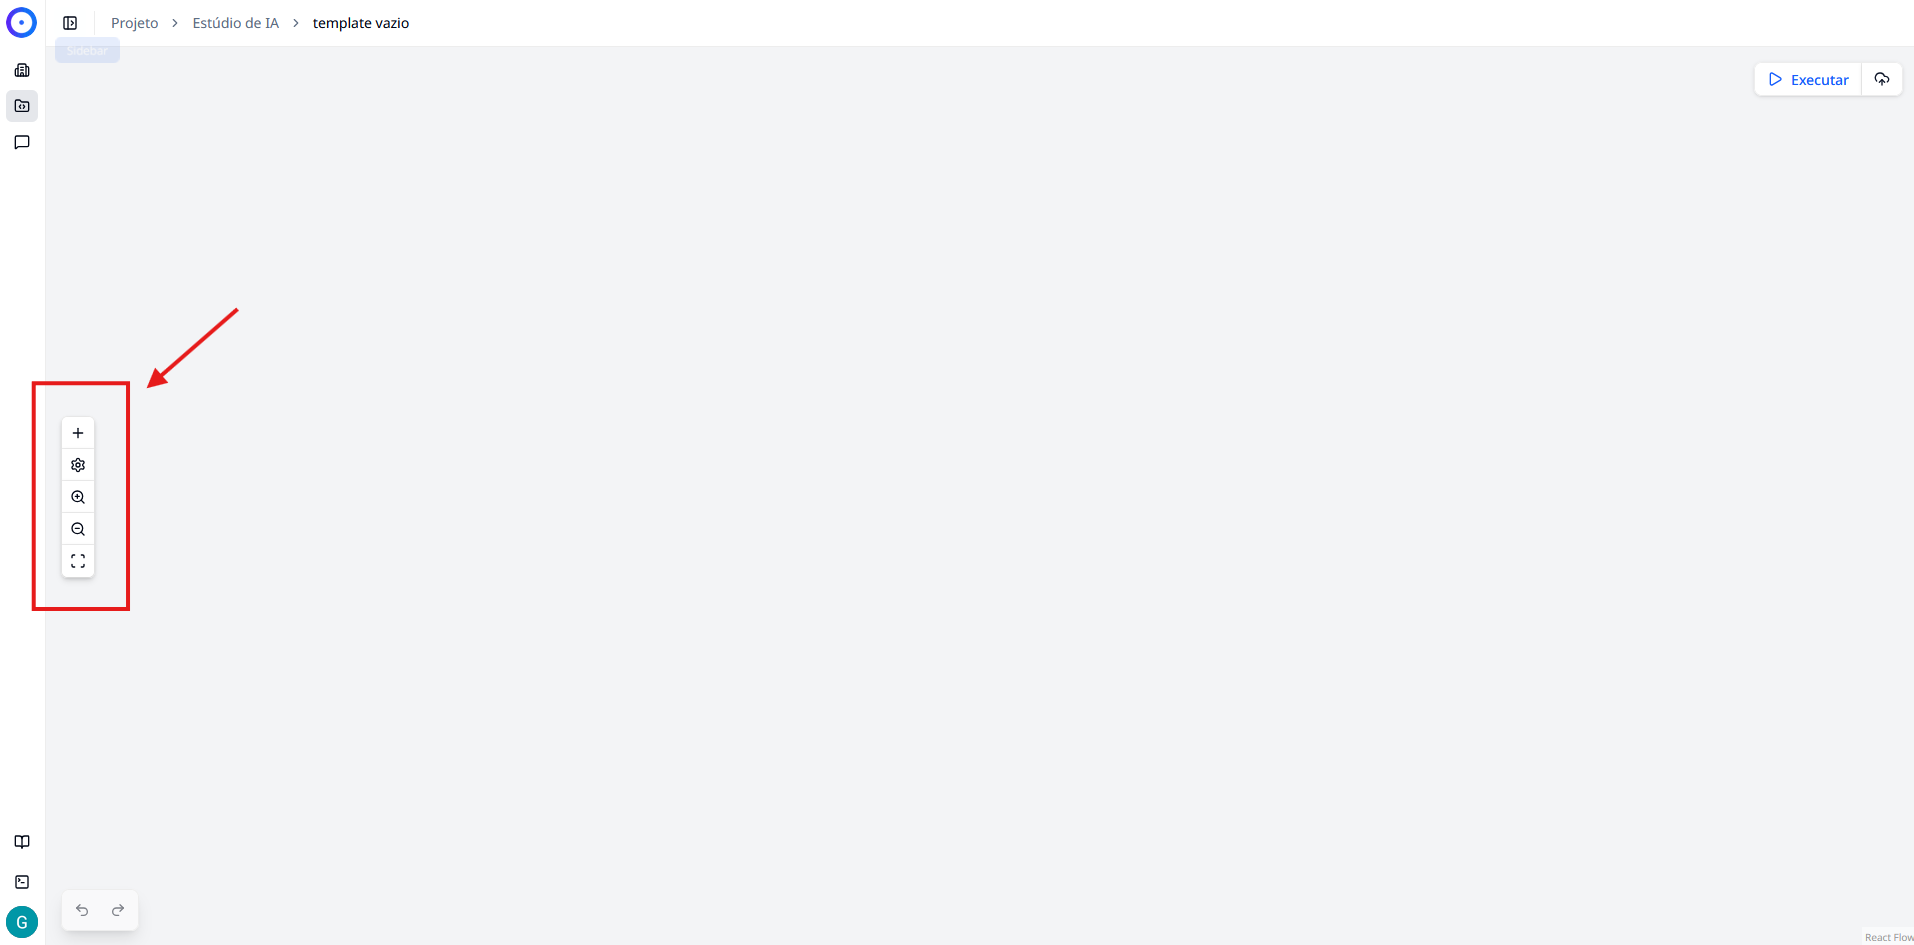
3. Sidebar Toolbar
On the left side of the canvas, you find a vertical column of buttons to assist with overall visualization and manipulation:
- (+) Add nodes: Opens the menu to insert new blocks into the flow.
- (⚙️) Settings: Access to general agent data such as name and description.
- (🔍) Zoom In: Zooms in on the view for detail.
- (🔍) Zoom Out: Zooms out on the view to see the entire flow.
- (⛶) Fit View: Automatically adjusts the zoom to center all nodes on the screen.
4. History Control
In the bottom left corner, you find the buttons for change control:
- Undo (Left Arrow): Reverts the last action taken (Shortcut:
Ctrl + Z). - Redo (Right Arrow): Redoes an action that was undone (Shortcut:
Ctrl + Shift + Z).
5. Configuration Panel
This is a contextual area that appears or updates when you click on a node in the canvas. Here you define the specific behavior of each node in your flow.
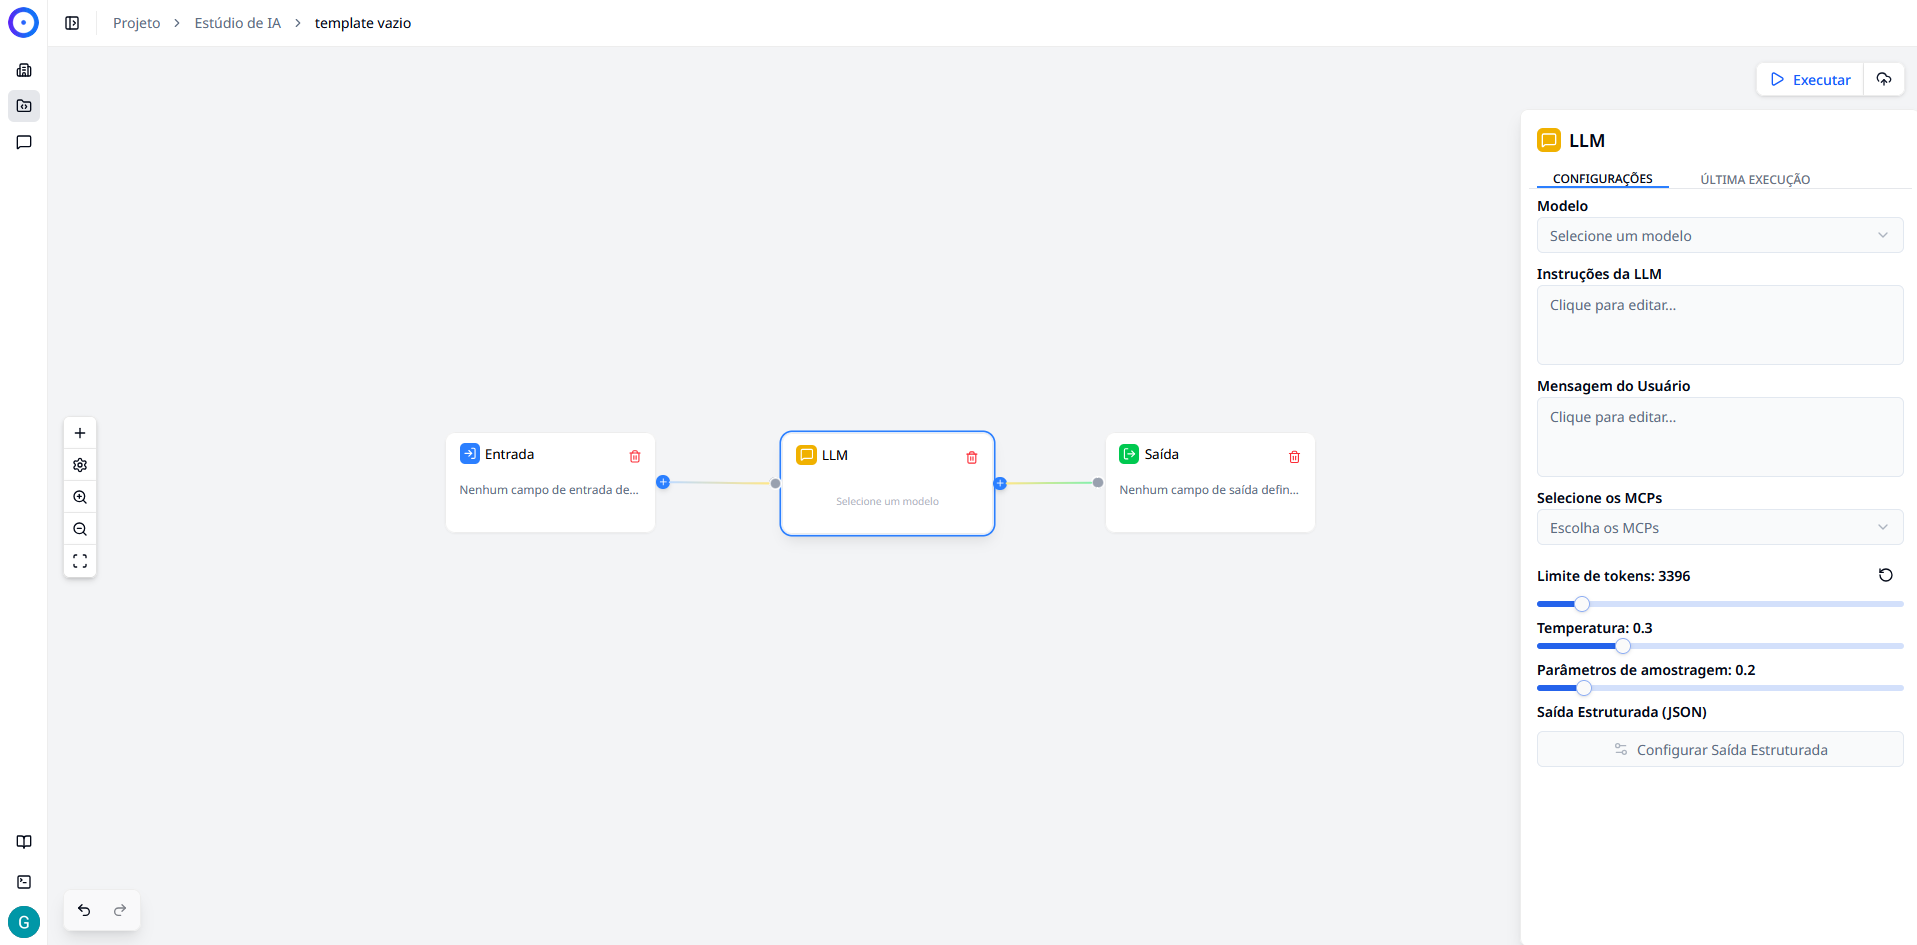
The panel is generally divided into two tabs:
- CONFIGURATION: Where you define parameters such as the AI Model, System Prompts, User Messages, Temperatures, and Token Limits. The fields change depending on the type of node selected (e.g., an LLM node will have different options than an Input node).
- LAST EXECUTION: Used for debugging, showing the logs (results) of the last execution.
Basic Editing Concepts
The operation of the editor is based on the interaction between two main elements:
Nodes
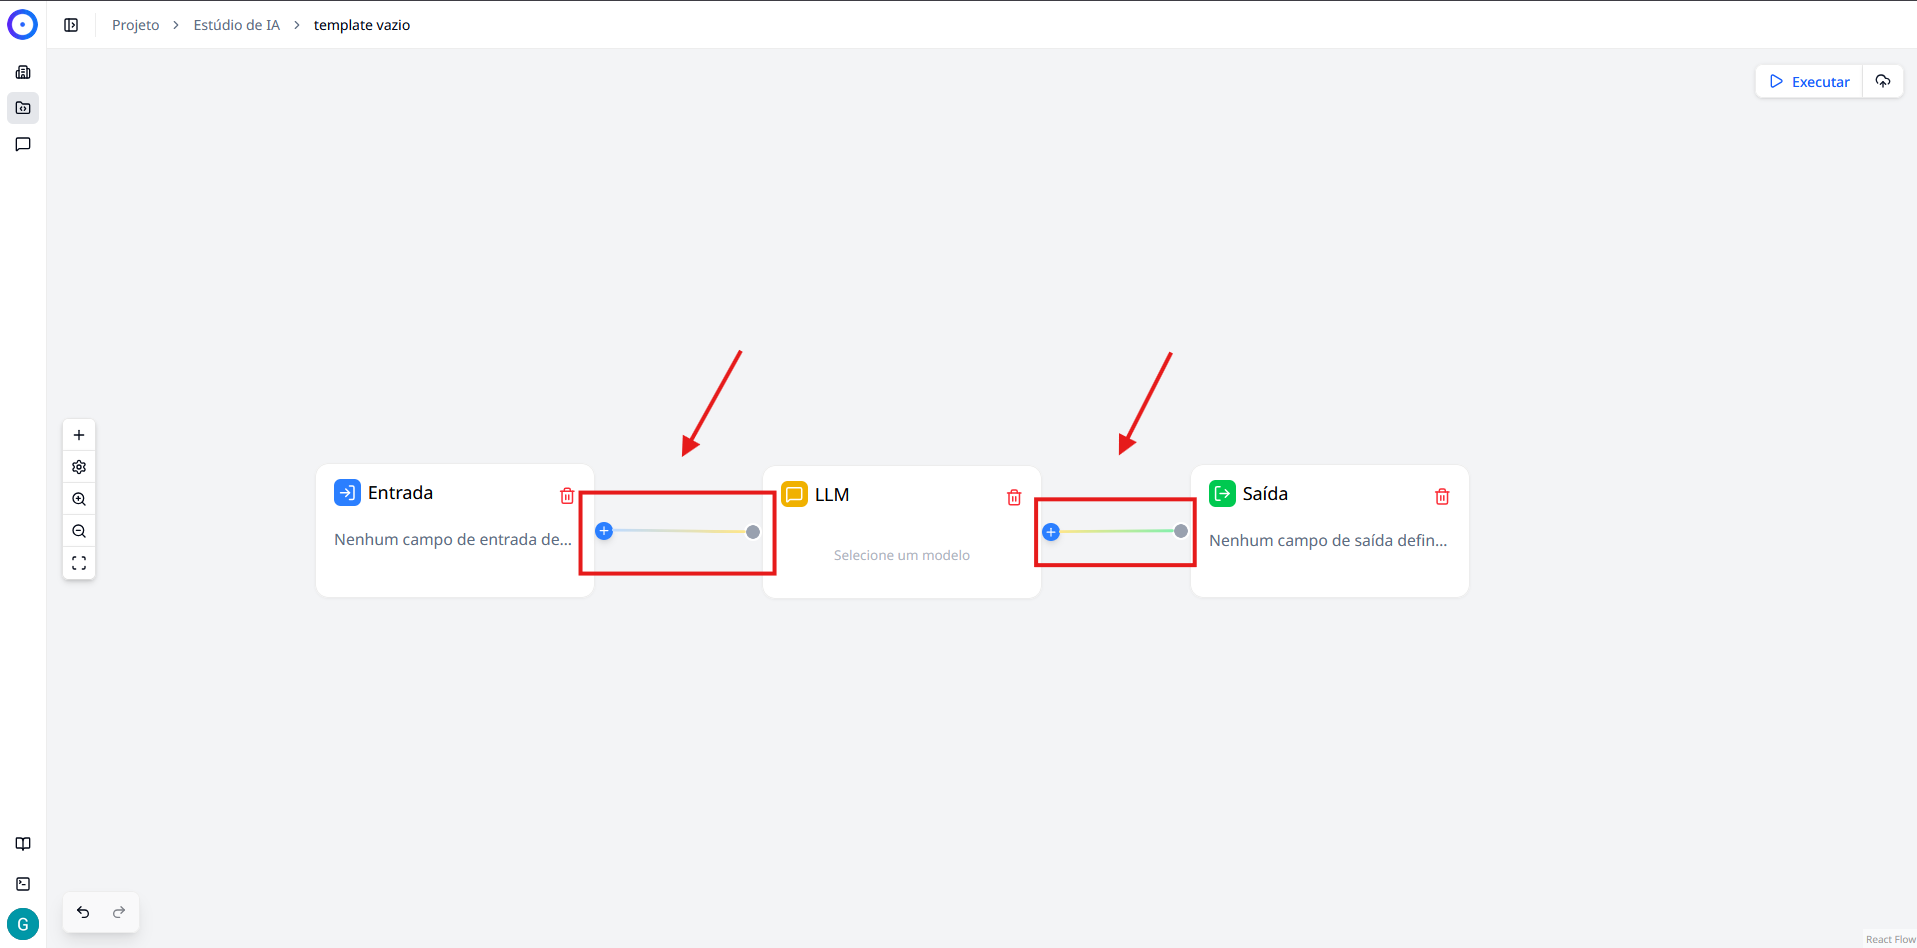
These are the blocks that perform specific actions (e.g., "LLM", "Input", "Output"). Each node has inputs (connectors on the left) and outputs (connectors on the right).
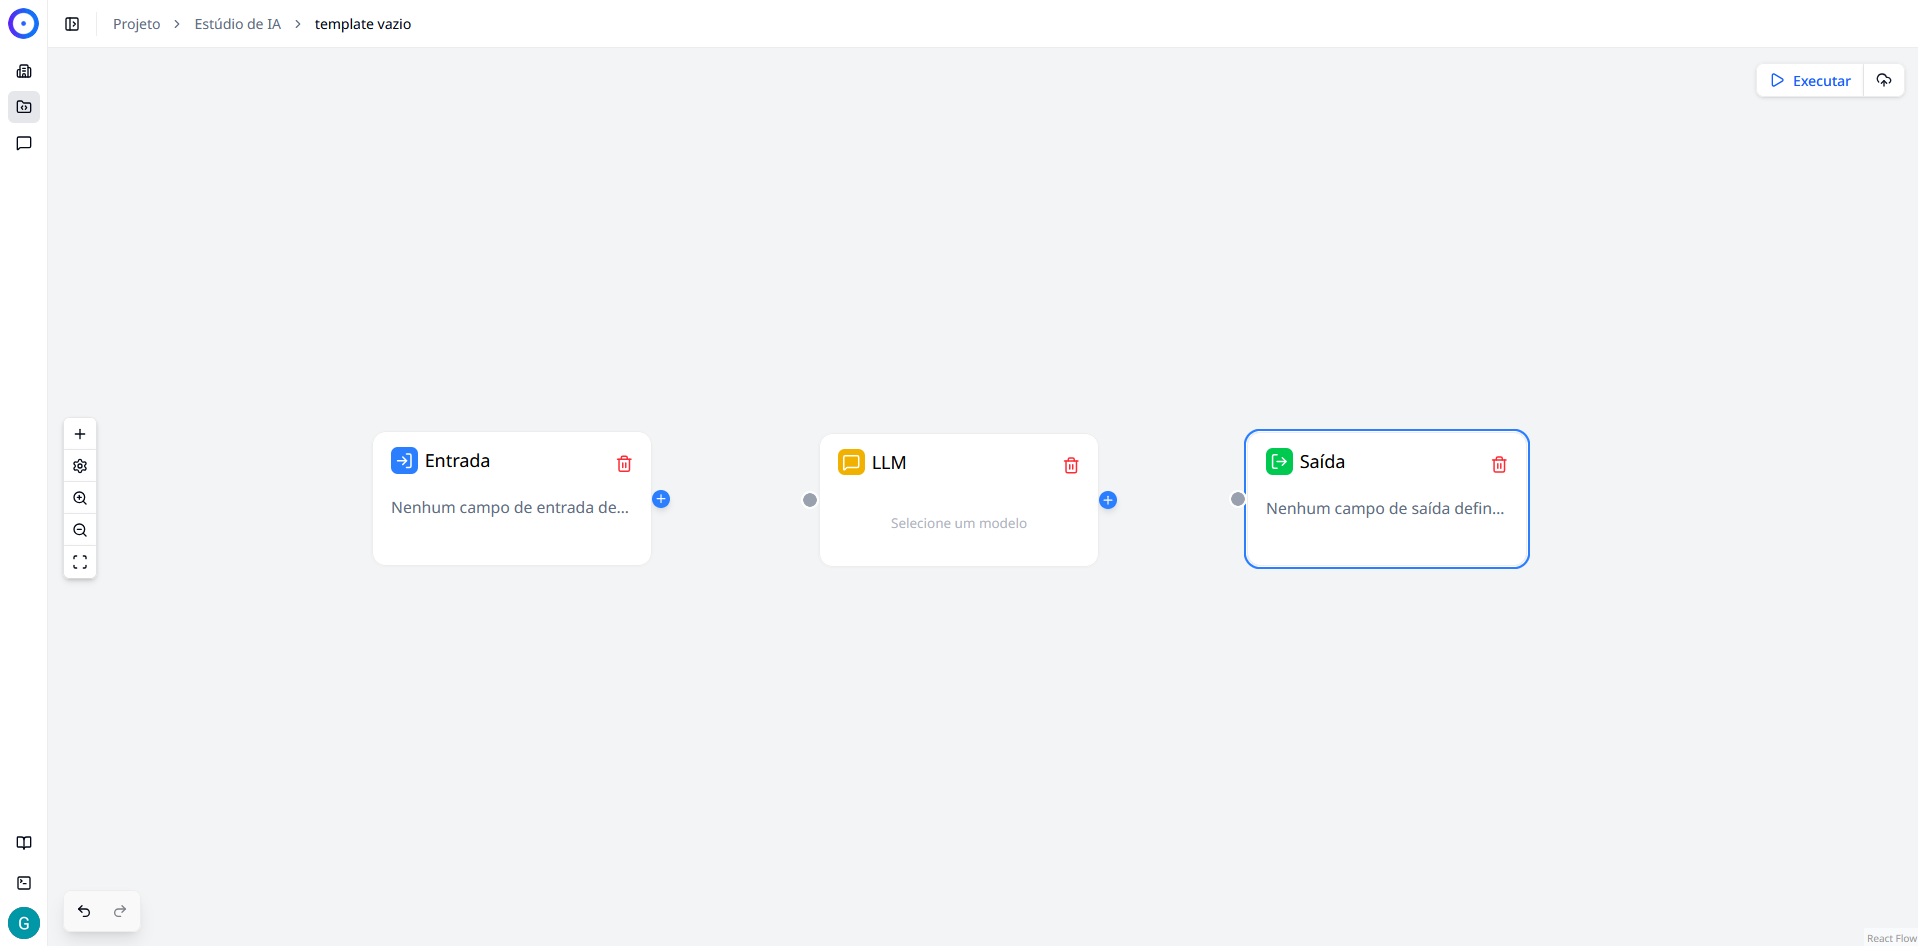
Links
These are the lines that connect the nodes, representing the path that the data takes.
- To create: Click on the "dot" output of one node and drag it to the input of another.
- Data flow: The connection ensures that the result of the first node is sent as information to the next.
Next Steps
Now that you know the environment, it's time to start building:
- Node Library: Understand in detail what each type of node does and how to configure them.