How to Install an MCP Server
This guide explains how to install MCP servers on the Aumo platform, whether from Docker Hub or GitHub.
Overview
Installing an MCP server involves:
- Finding the server: Locate the desired server on Docker Hub or GitHub
- Reviewing information: Check description, requirements, and environment variables
- Configuring variables: Set the necessary environment variables
- Installing: Confirm and install the server
Step 1: Access the MCP Servers Page
- Navigate to the Projects section in the side menu
- Select the desired project
- Click on MCP Servers in the project's side menu
Step 2: Choose the Source

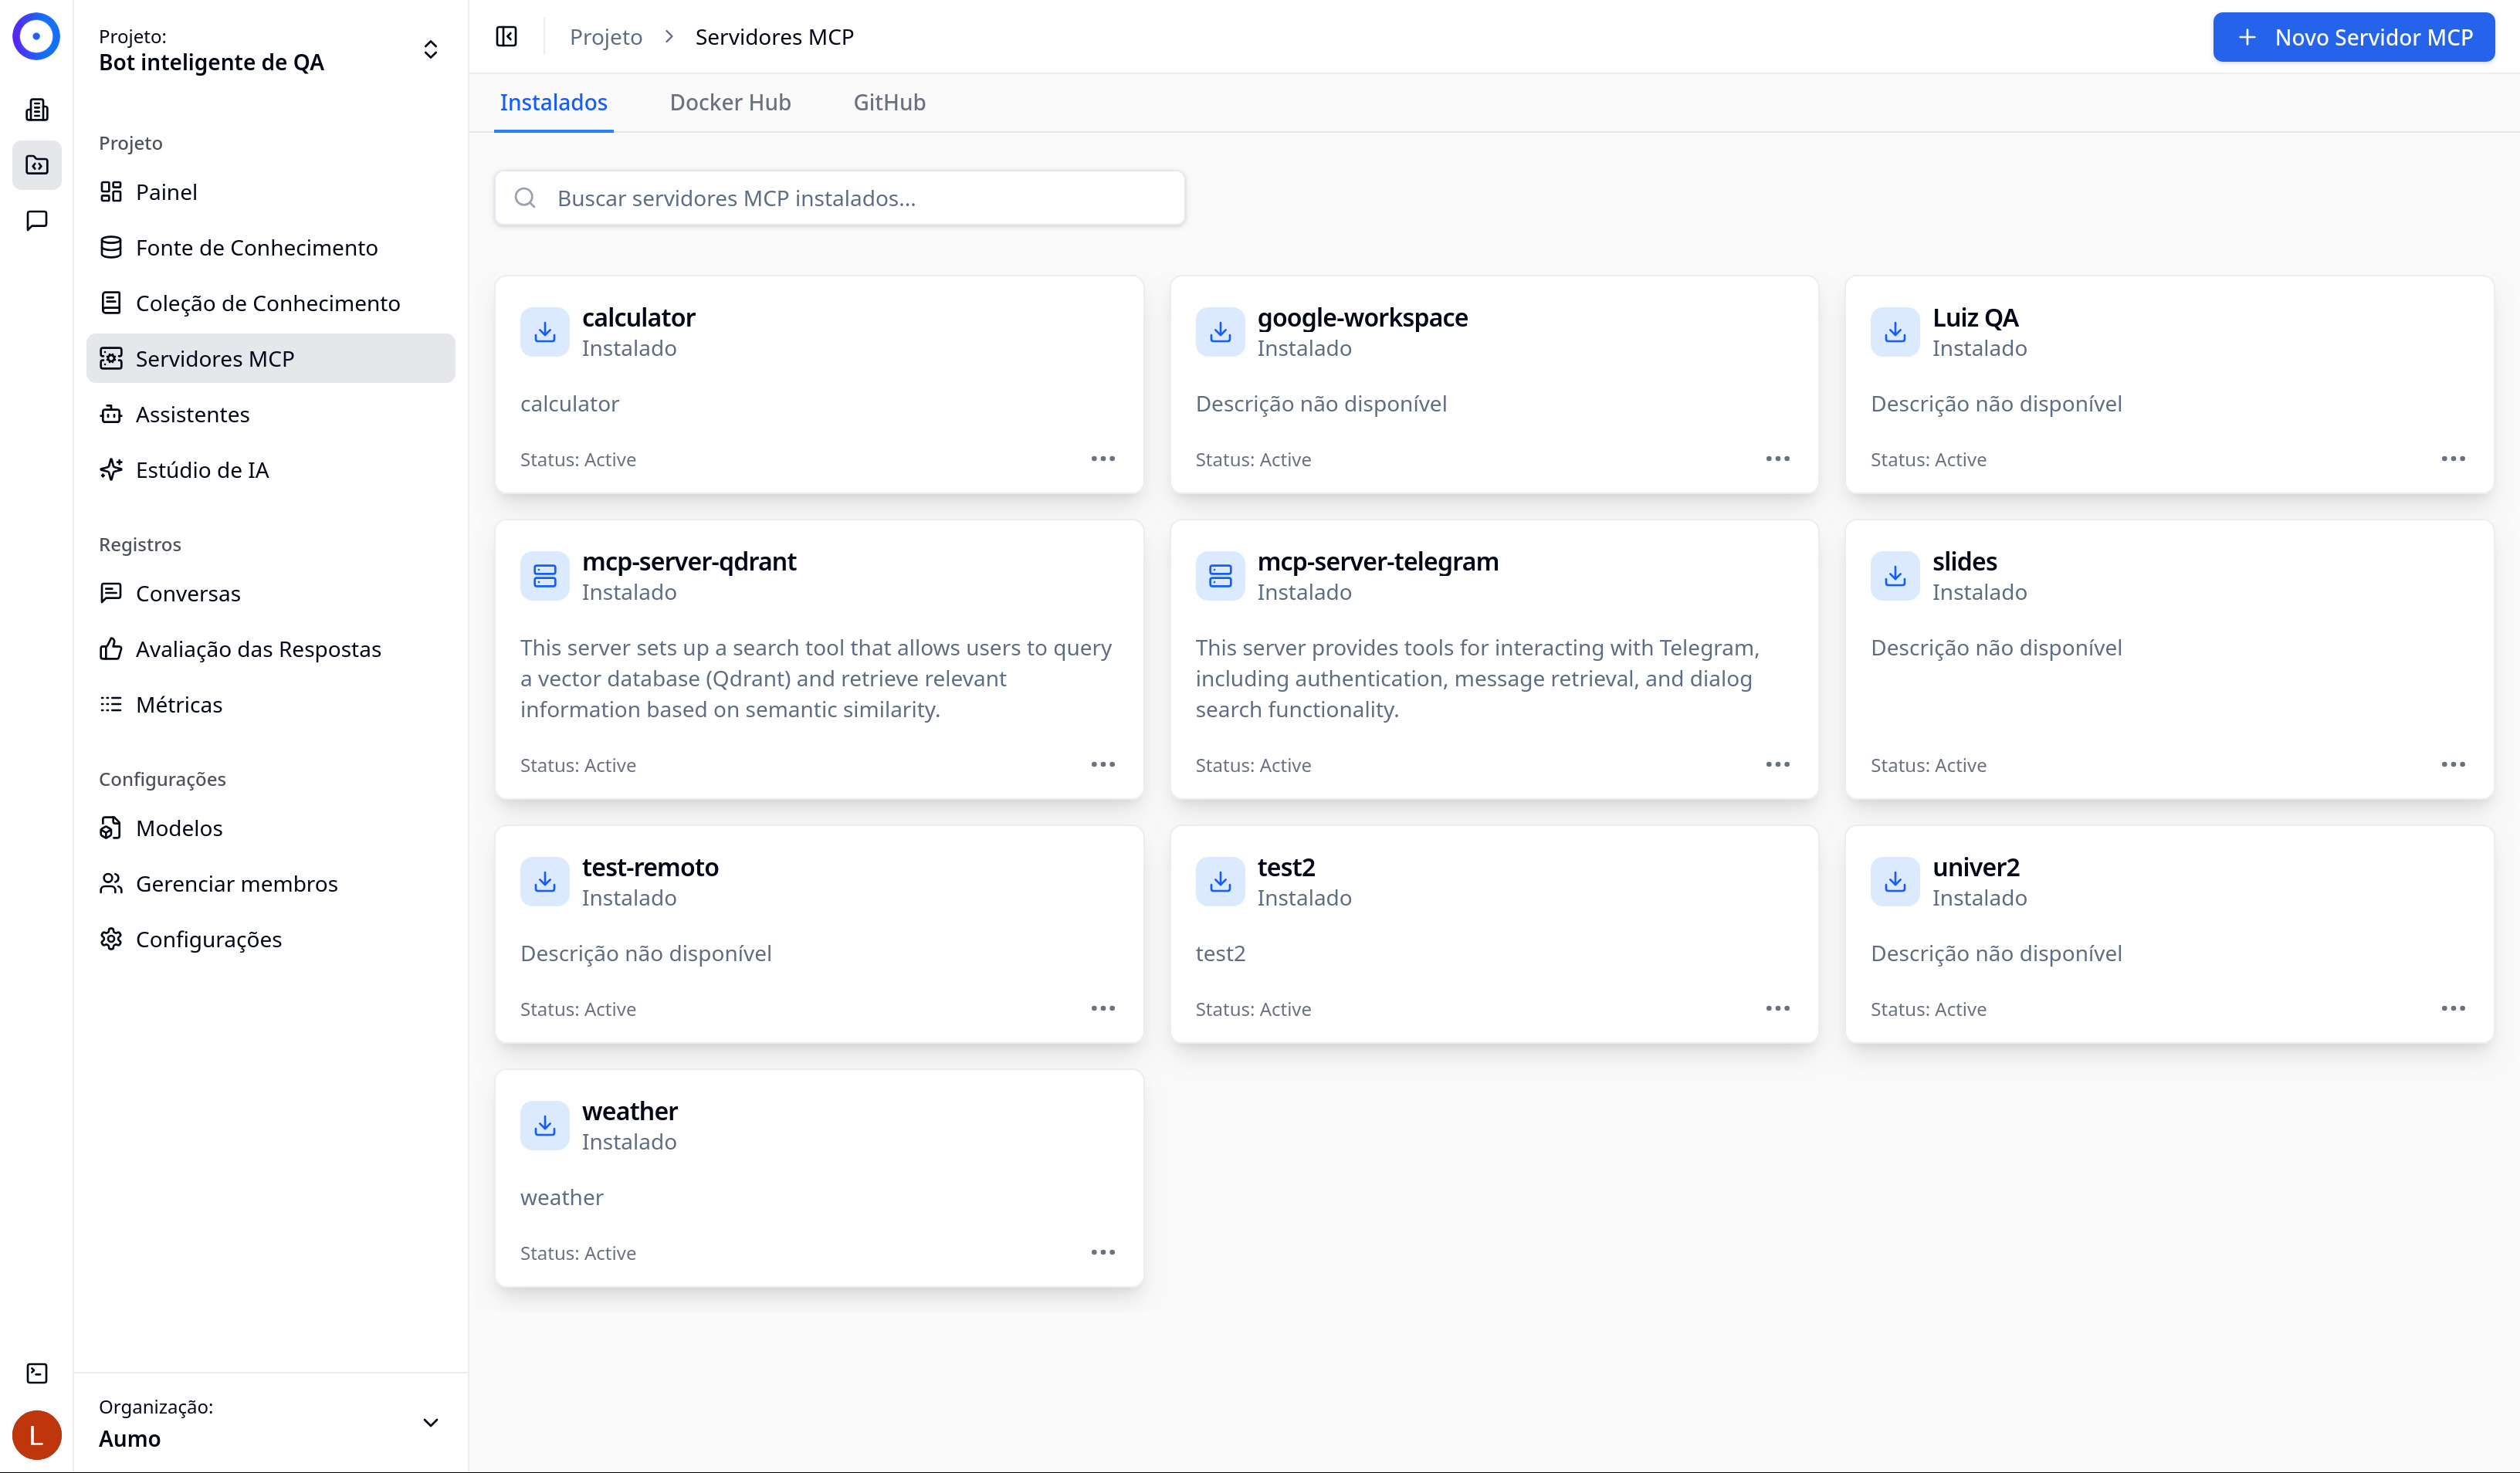
On the MCP Servers screen, you will see three tabs:
- Installed: Shows servers that are already installed in the project
- Docker Hub: Searches for servers available on Docker Hub
- GitHub: Searches for servers available on GitHub
Select the tab corresponding to the desired source.
Step 3: Find the Server
- Use the search bar to find the desired server
- Type the name or keywords related to the server
- Review the displayed results
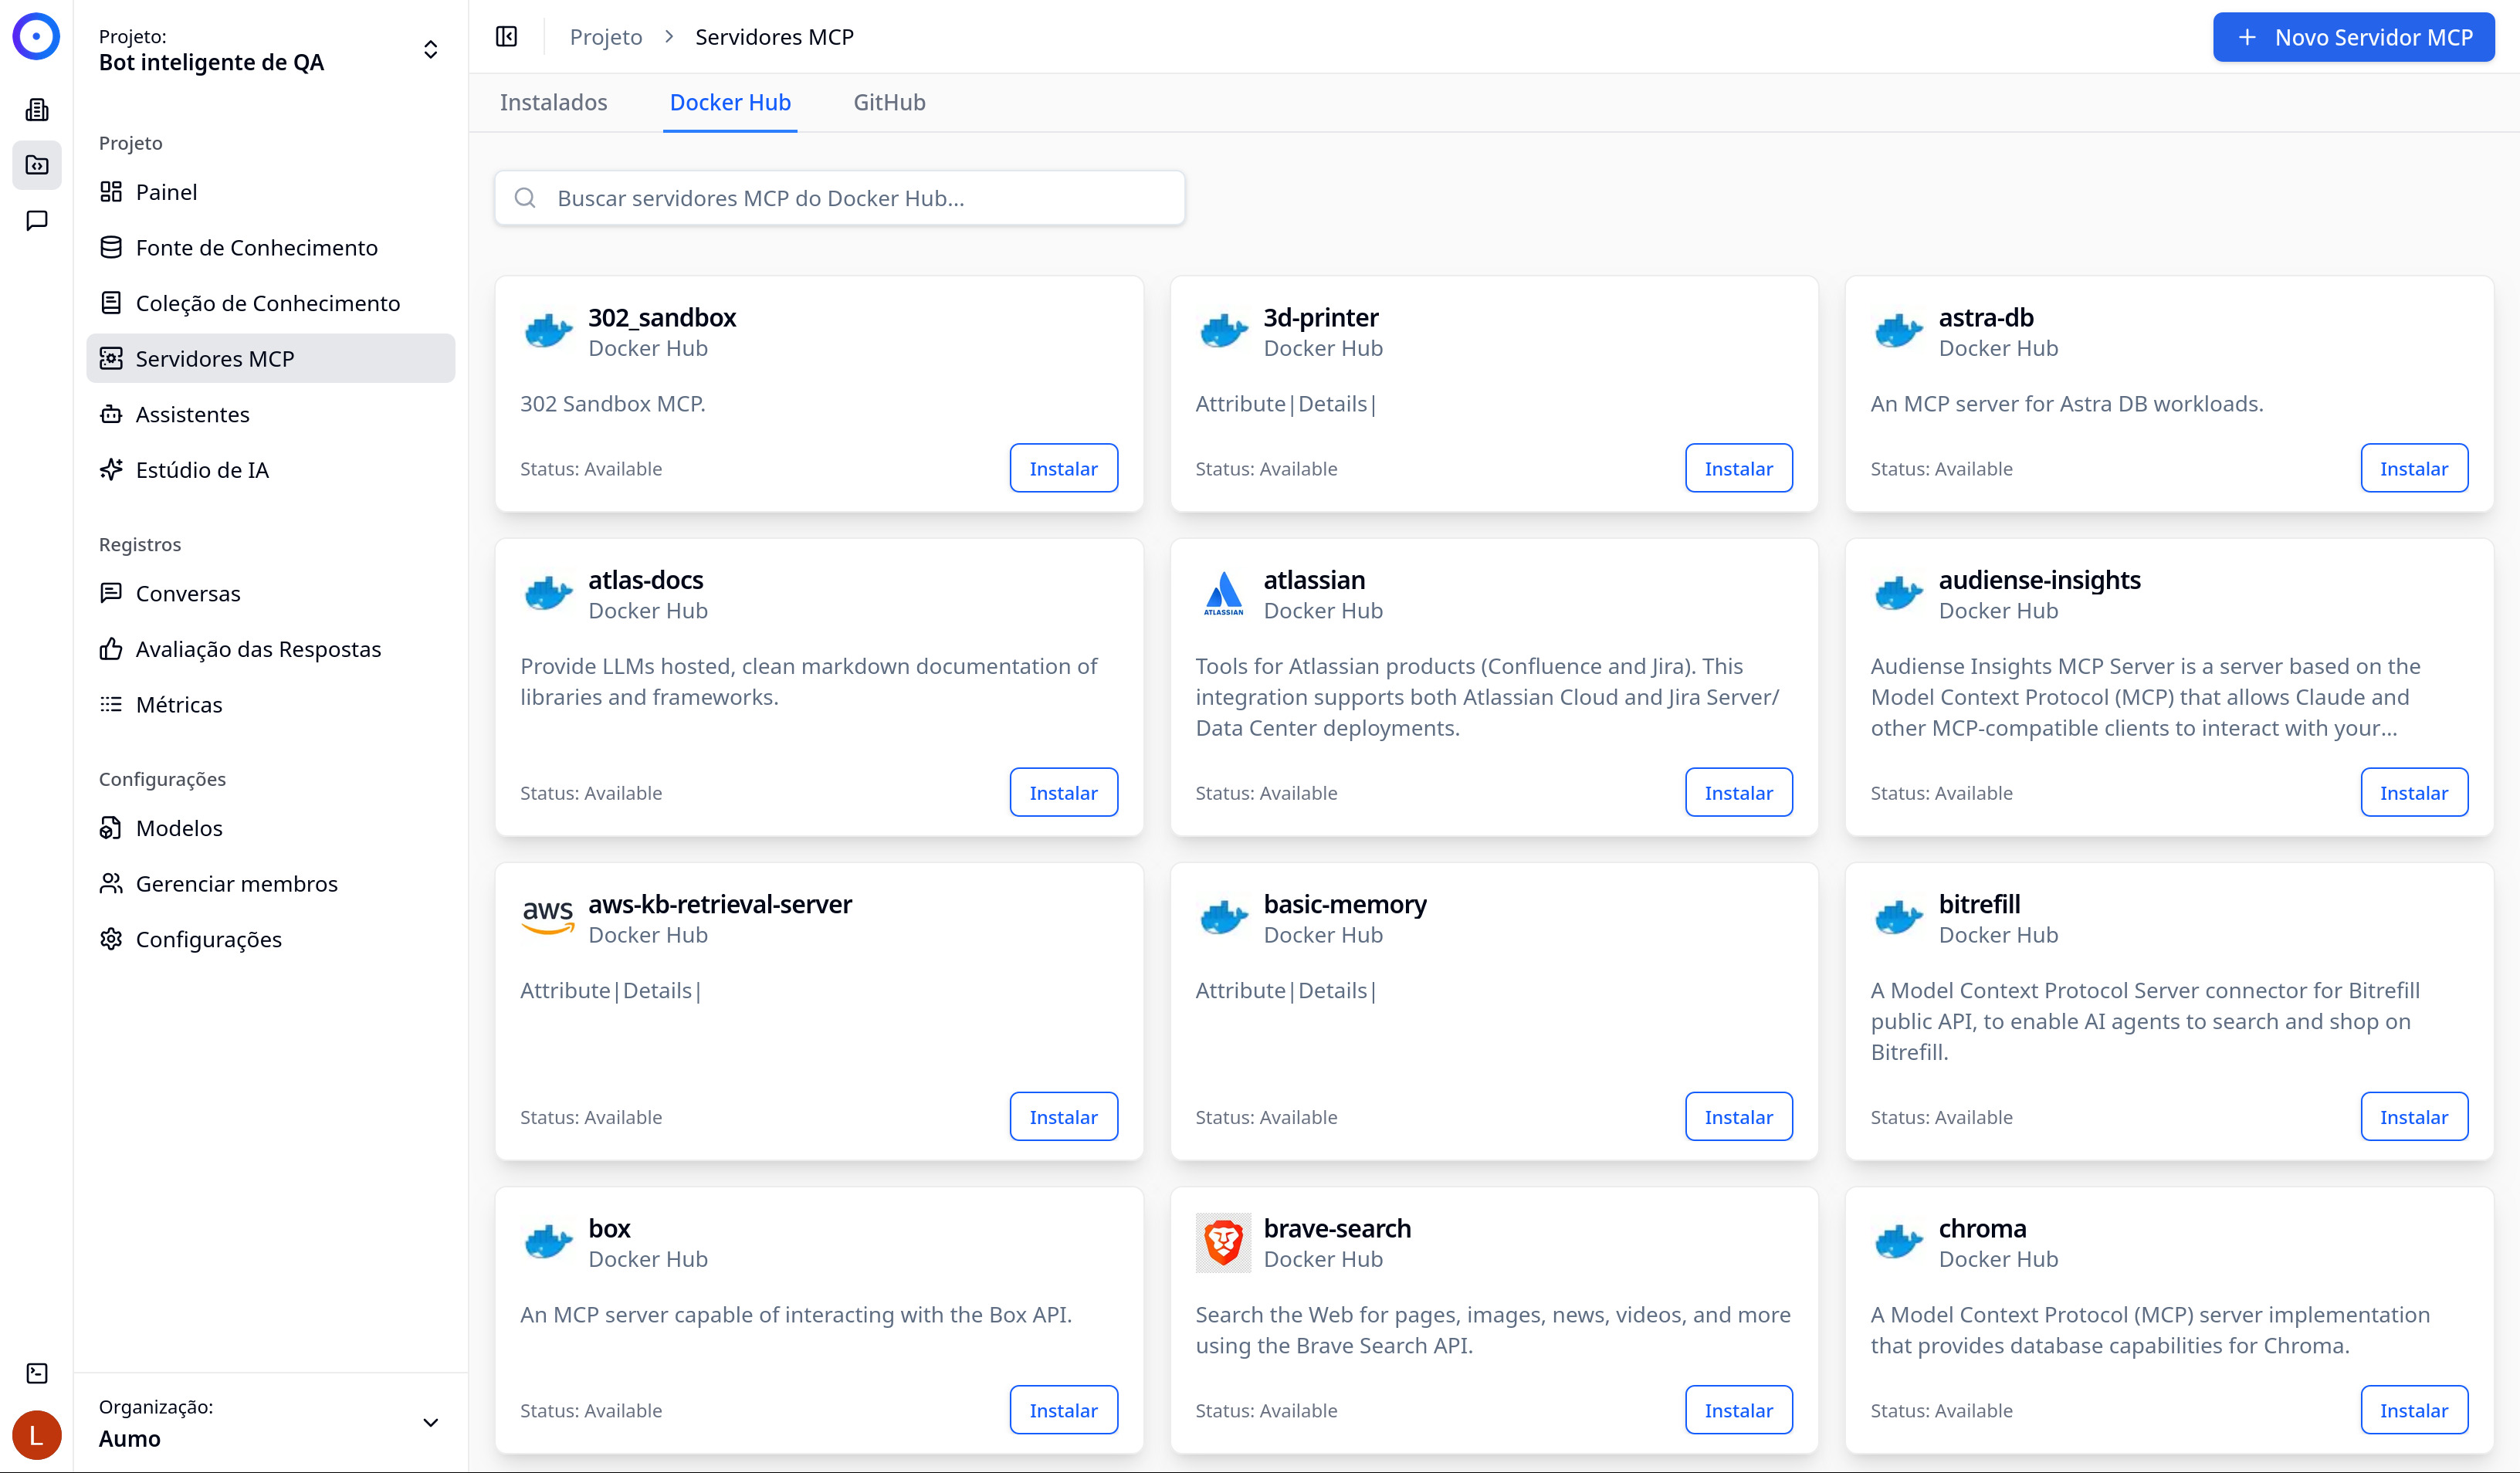
Searching on Docker Hub
The servers from Docker Hub are displayed in cards, each showing:
- Server name
- Brief description
- Status (Available)
- "Install" button
Searching on GitHub
The servers from GitHub are also displayed in similar cards, showing:
- Server name
- Repository description
- Status (Available)
- "Install" button
Step 4: Review Server Details
Before installing, click on the server card to see detailed information:
The details modal shows:
- Description: Complete description of the server and its functionalities
- Docker Hub/GitHub Information: Author, Docker image, repository
- Links: Links to the repository and Dockerfile
- Environment Variables: List of necessary variables (required and optional)
- Command: Command required to run the server
Step 5: Configure Environment Variables
Many MCP servers require environment variables to function:
- In the installation modal, review the Environment Variables section
- For each required variable:
- Fill in the necessary value
- Variables marked as "Secret" will be hidden after saving
- Optional variables can be left blank if not needed
Example: Installing Brave Search
For the Brave Search server, you will need to configure:
- BRAVE_MCP_TRANSPORT: Usually "stdio" (default value)
- BRAVE_API_KEY: Your Brave Search API key (required and secret)
Step 6: Install the Server
- Review all configurations
- Ensure all required variables are filled in
- Click the Install button
- Wait for the installation confirmation
Step 7: Verify Installation
After installation:
- The server will appear in the Installed tab
- The status will be displayed as "Active"
- You will be able to see the tools available on the server
- The server will be available for use in assistants
Creating an MCP Server via JSON
You can also create MCP servers manually using JSON:
- Click on the + New MCP Server button
- In the modal, you will see the option "Batch Creation or JSON Template"
- Paste a valid JSON in the format:
{
  "mcpServers": {
    "server-name": {
      "command": "command",
      "args": ["arg1", "arg2"],
      "env": {
        "VARIABLE": "value"
      }
    }
  }
}
- The form will automatically load based on the JSON
- Review and adjust the configurations
- Click on Add Servers
Next Steps
After installing an MCP server:
- Manage MCP Servers: Learn to manage installed servers
- Use MCP in Assistants: Integrate MCP servers into your assistants
- Explore the tools available in each installed server
Tips
- Always review the server documentation before installing
- Keep API keys secure (secret variables)
- Test servers in development projects before using them in production
- Some servers may have usage limits or associated costs