How to Add a Member
This guide explains step by step how to add a new member to your organization on the Aumo platform.
Overview
Adding a new member involves:
- Accessing the members page: Navigate to the organization's members section
- Opening the invitation dialog: Click the New Member button to add a new member
- Filling in the information: Provide the email and select the member's role
- Adding the member: Click Add to send the invitation to the new member
- Confirming the result: Check the list and confirm the member appears with the correct role
Step by step
Follow the full flow — access the members list, open the invitation form, choose the role, confirm, and validate the created member in the list:

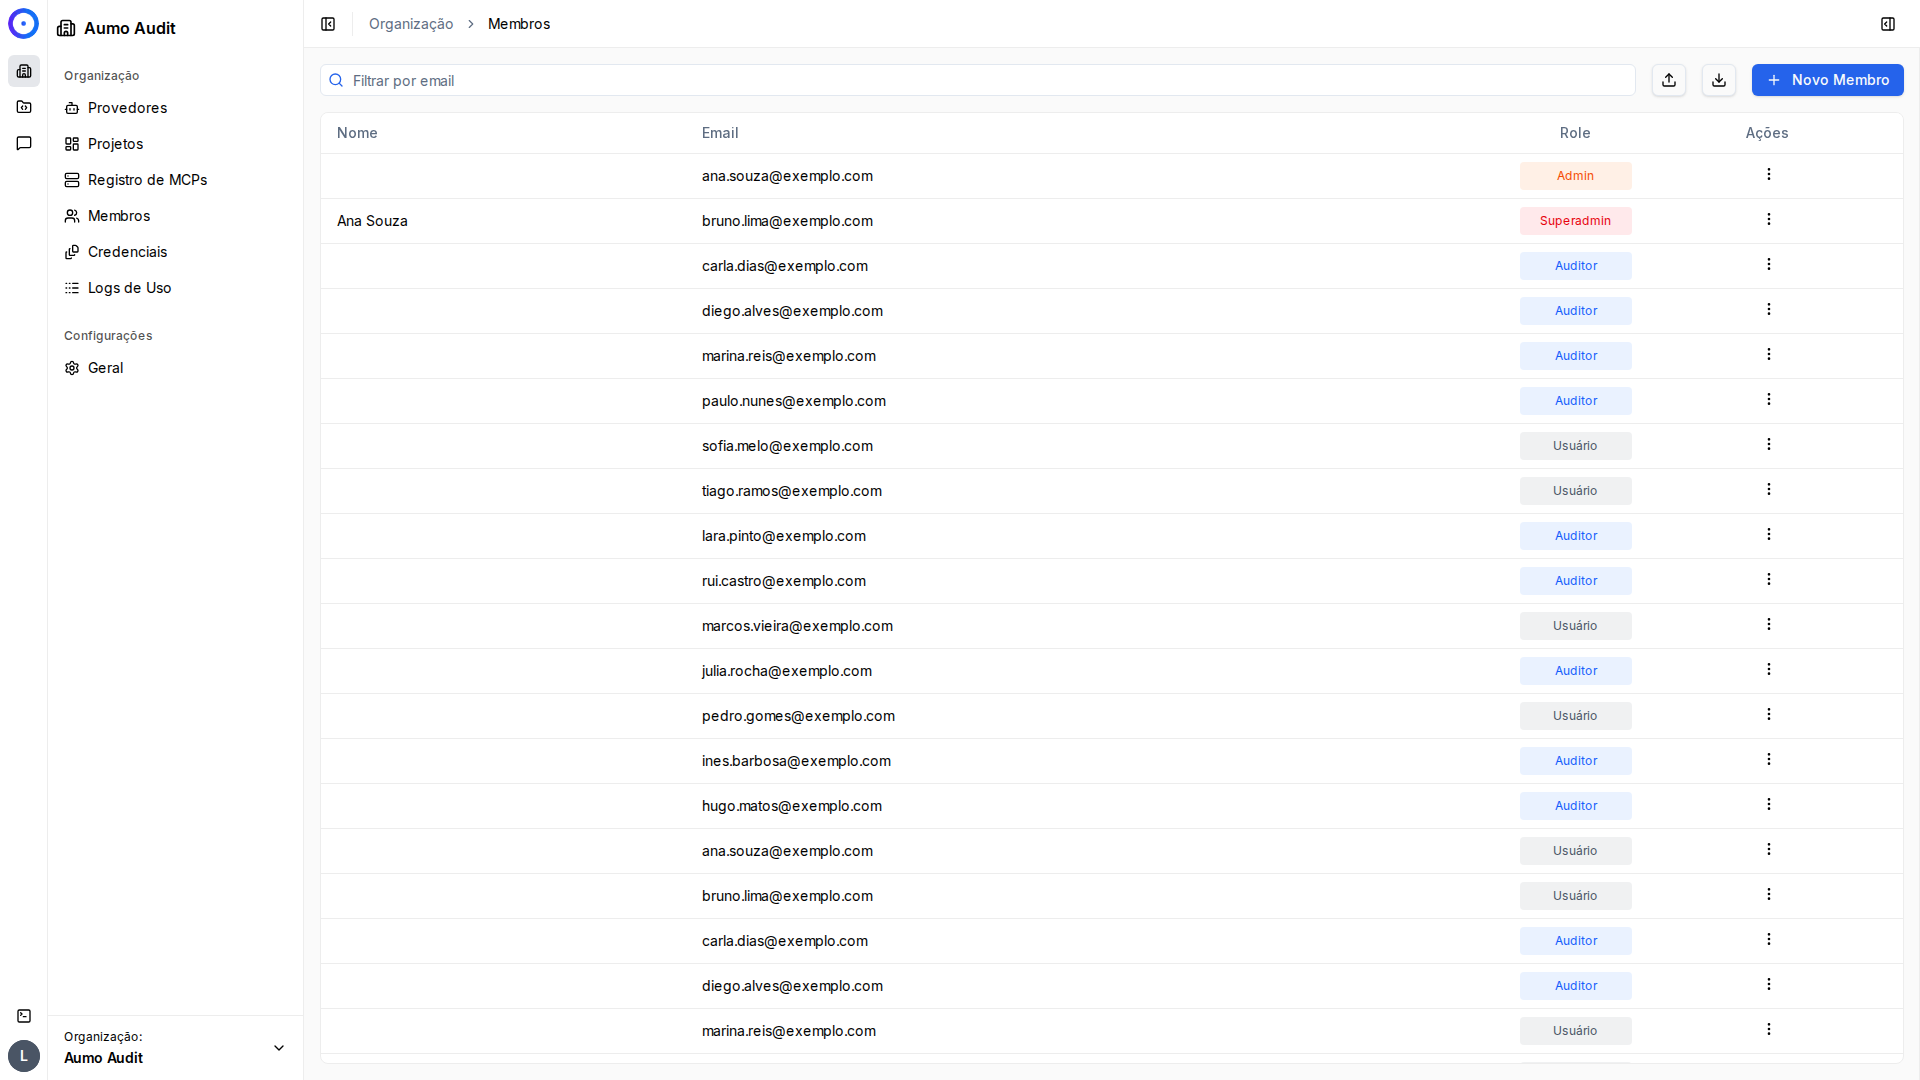
In the organization side menu, click Members. On the members page, click the New Member button in the top right corner.
Step 1: Access the Members Page
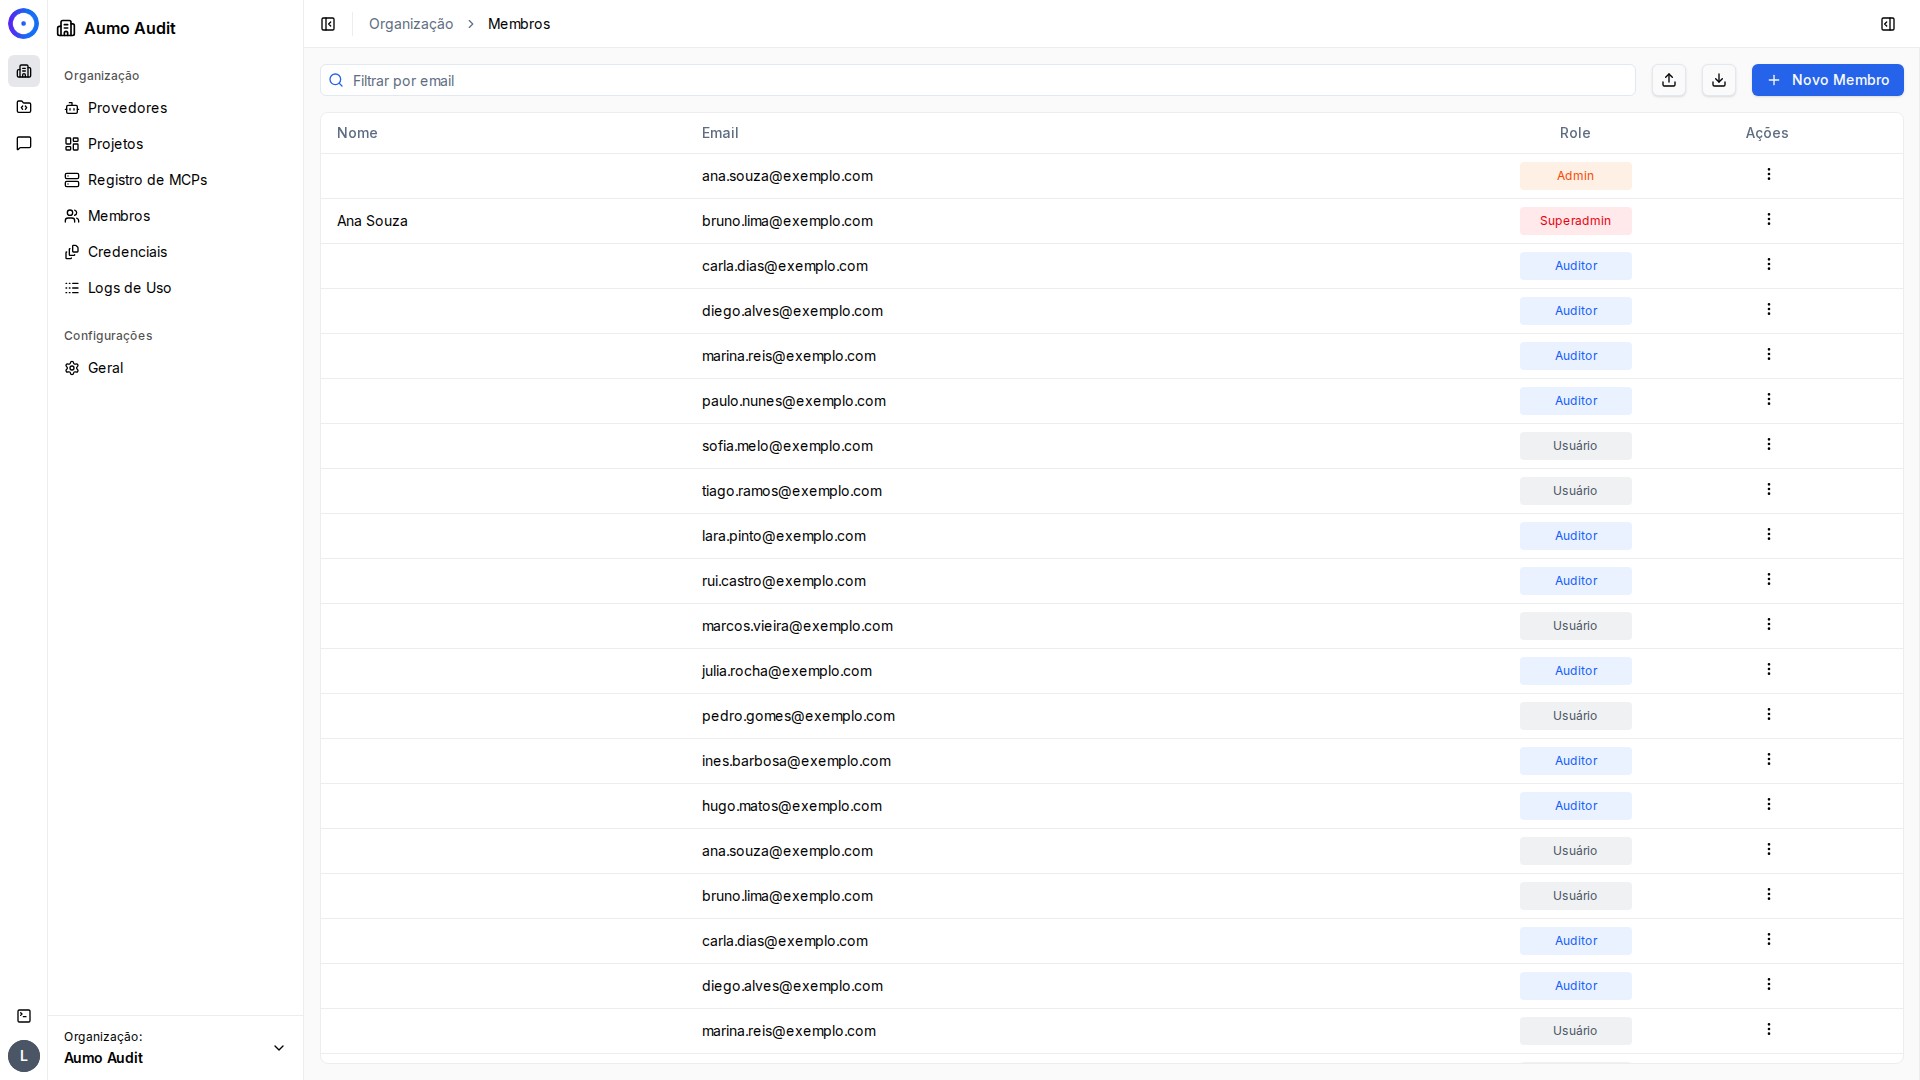
- Log in to the admin platform
- Navigate to Organization in the side menu
- Select Members
You will see a list of all current members of the organization.
Adding Members Directly to a Project
If you want to add someone only to a specific project (workspace), follow these steps before continuing with the above flow:
- In the main side menu, select Projects and choose the desired project.
- Within the project, use the internal side menu and click on Members.
- The displayed screen is the same used for organization members; just repeat the invitation steps described in the following sections (open dialog, fill email and role, send invitation).
This process ensures the member receives access only to the selected project, with the same roles and permissions as the standard flow.
Step 2: Open the Invitation Dialog
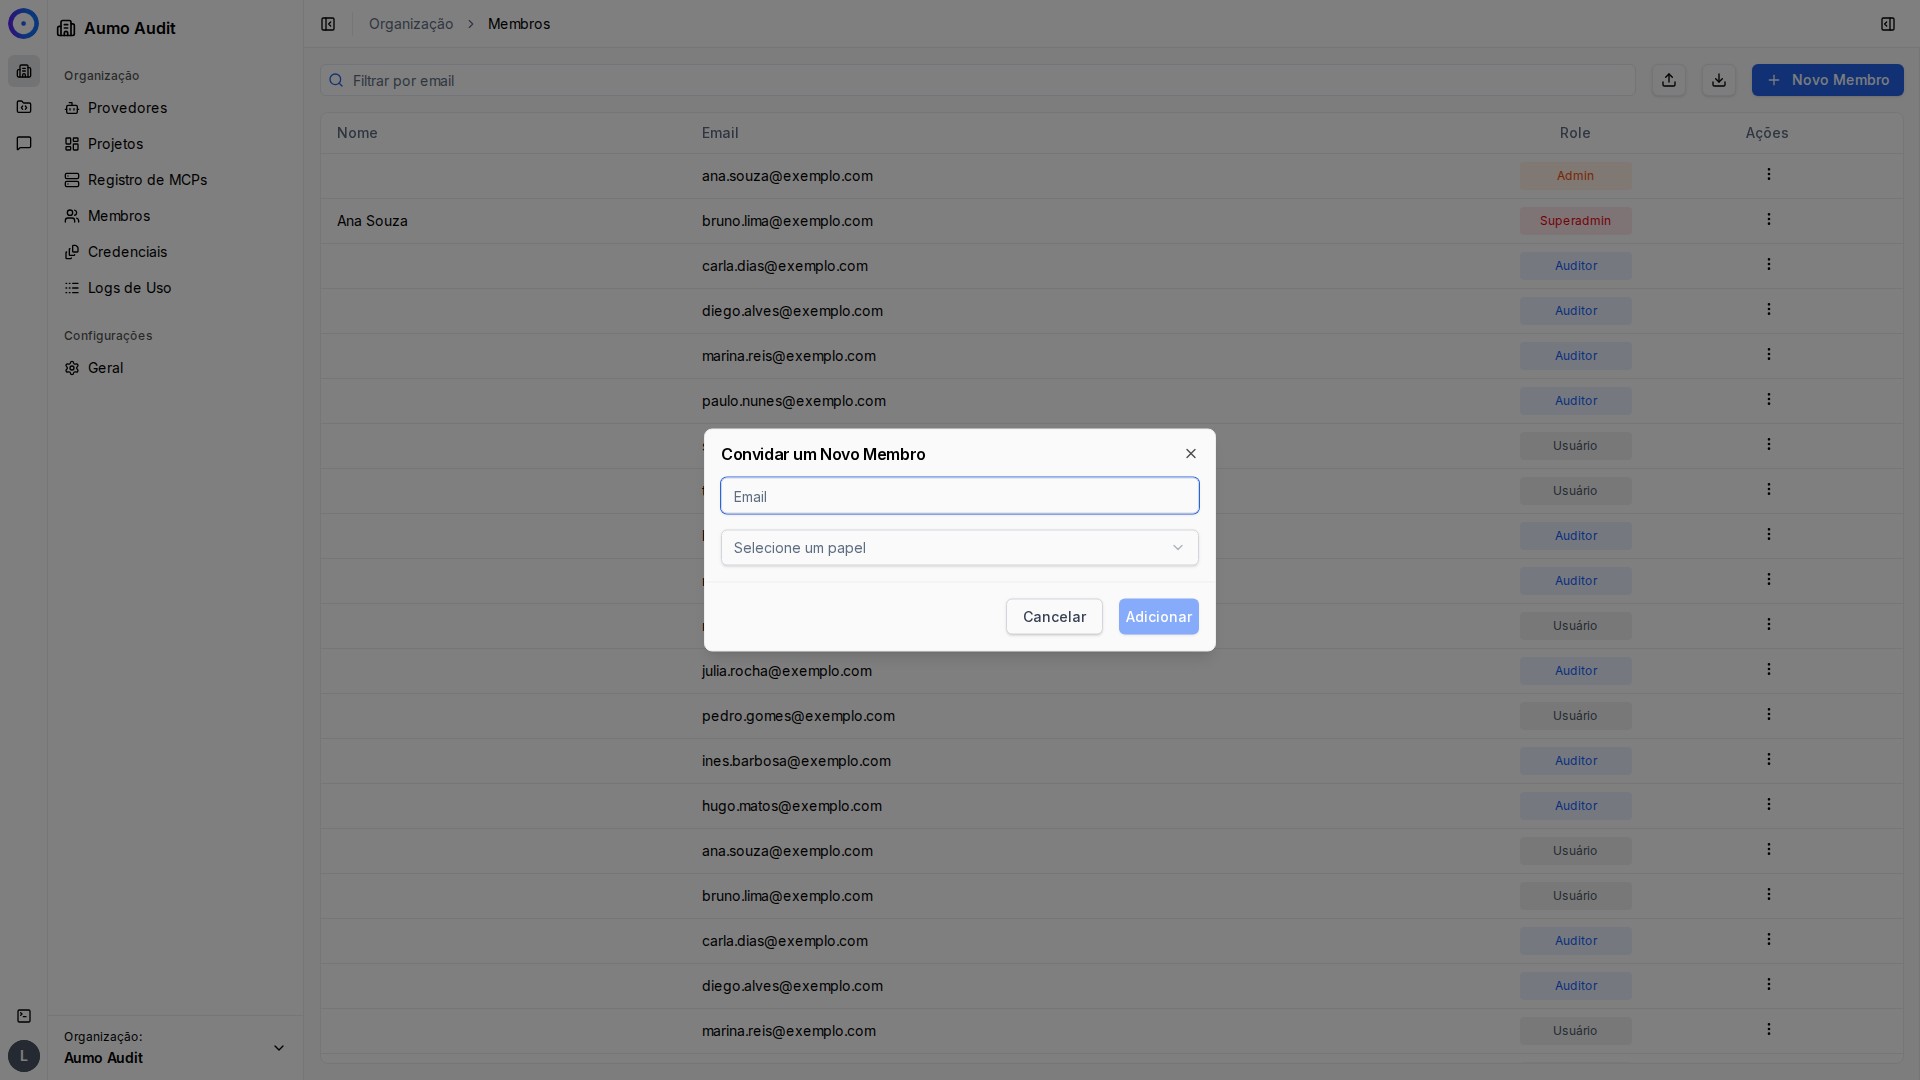
- Click the New Member button (usually located at the top right corner)
- A dialog will open with the title "Invite a New Member"
Step 3: Fill in the Information
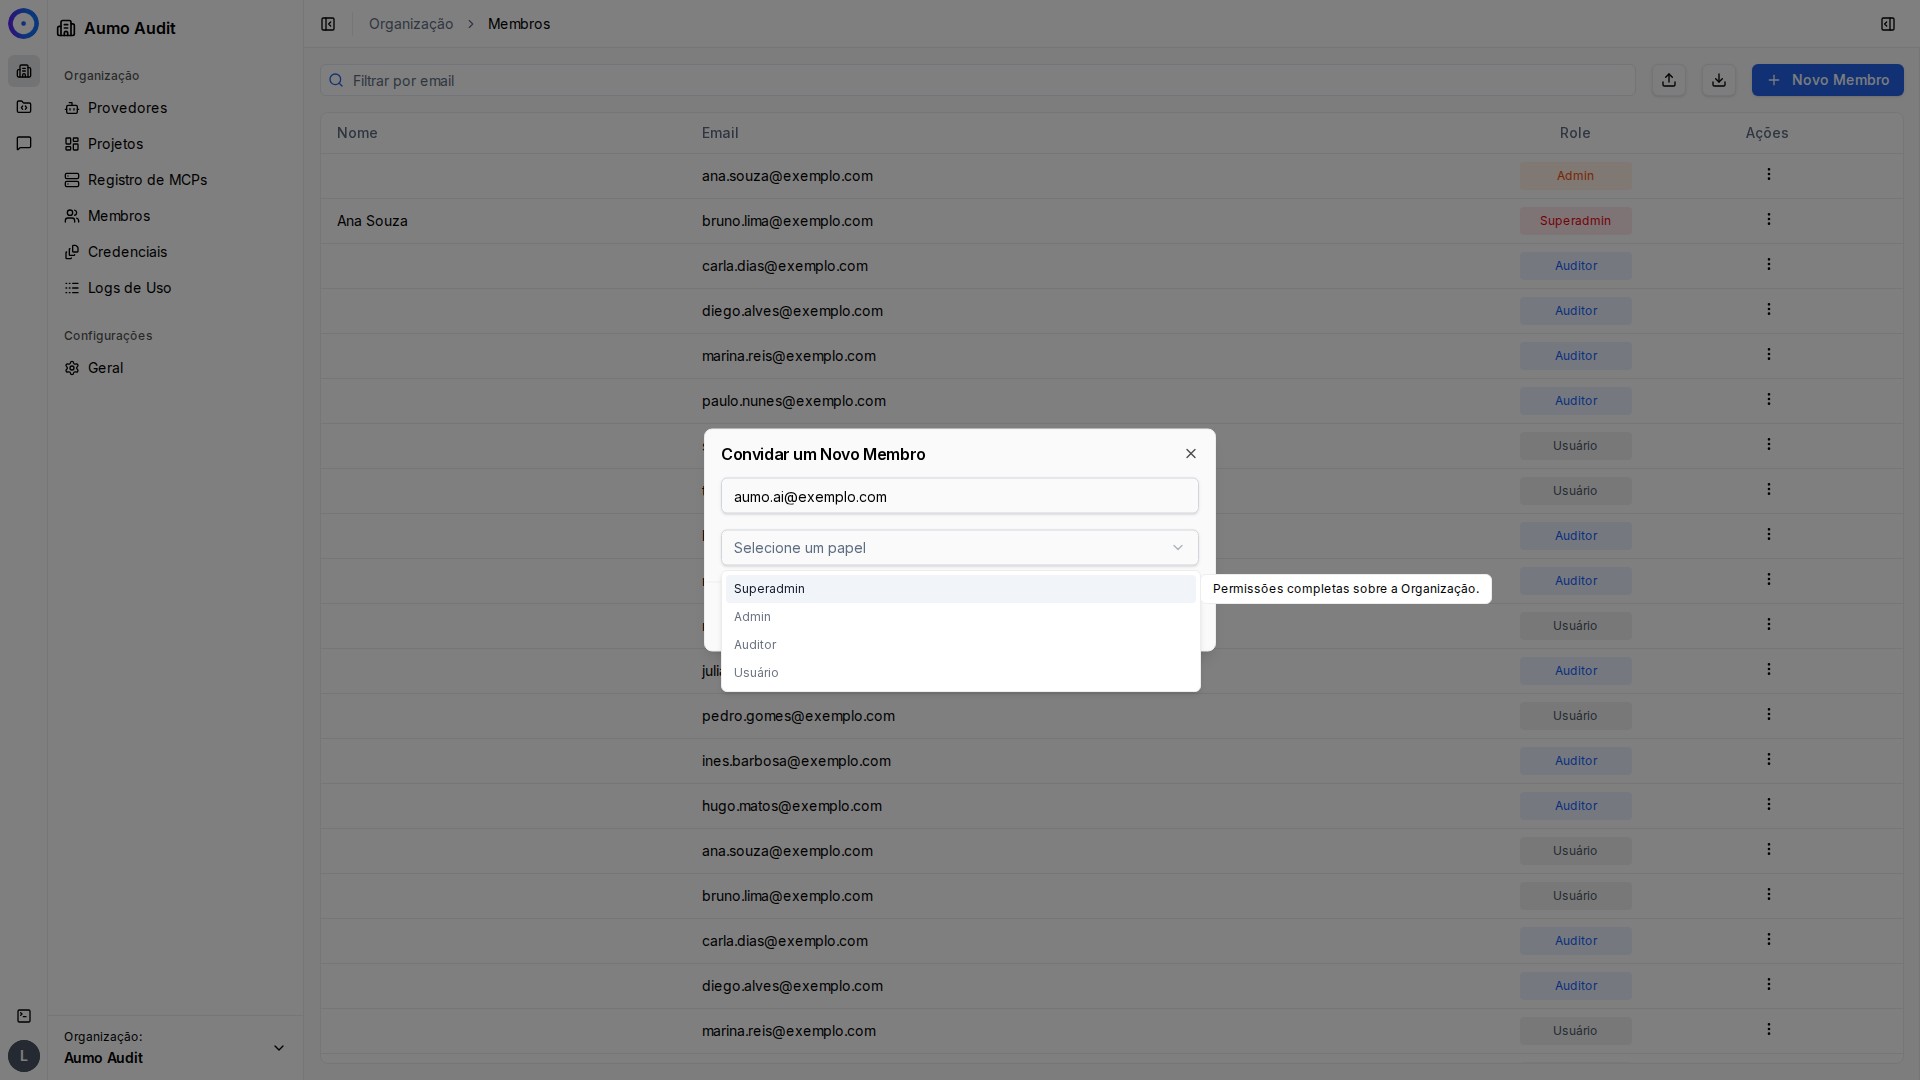
In the invitation dialog, you will need to fill in:
Member Email
- Enter the email address of the person you wish to invite
- Ensure the email is correct as it will be used to send the invitation
Select the Role
- Click on the "Select a role" field (combobox)
- A list of options will be displayed with the available roles:
The Aumo platform offers the following roles:
- SUPERADMIN: Full access to the organization, including administrative settings
- ADMIN: Administrative access with broad permissions
- CONTROLLER: Permissions to control and manage specific resources
- CURATOR: Permissions to manage and organize content
- BASIC: Basic access with limited permissions
- Select the appropriate role for the new member based on their responsibilities and access needs
Adding Multiple Members (JSON/CSV)
In addition to adding members individually, you can also import multiple members at once using JSON or CSV files. The import is not inside the invitation dialog — it is done from the import button in the members page header (upload icon, with the "Import members" tooltip), next to the New Member button:
- On the members page, click the import button (upload icon) in the header
- Select or drag the JSON or CSV file with member data
- The file must contain the necessary information (email and role) for each member
- After uploading, members will be processed and added to the organization
Step 4: Add the Member
- Review the filled information
- Click the Add button in the invitation dialog
- The invitation will be sent to the provided email
Step 5: Export Members
You can export the list of organization members in JSON or CSV format:
- On the members page, locate the export button (download icon) in the header, next to the import button
- Click the button to export members
- Choose the desired format (JSON or CSV)
- The file will be downloaded with all member information from the organization
Next Steps
After sending the invitation:
- The new member will receive an email with instructions on how to accept the invitation
- Once accepted, the member will appear in the organization's members list
- You can edit the member's role at any time
- If necessary, you can remove members from the organization
Tips
- Ensure the email is correct before sending the invitation
- Choose the appropriate role based on the member's responsibilities
- You can change a member's role later if necessary
- Members with higher roles have more permissions and access to more features
Important Notes
- Only users with the appropriate permissions can add new members
- The number of members may be limited by your subscription plan
- Invited members need to accept the invitation before they can access the organization